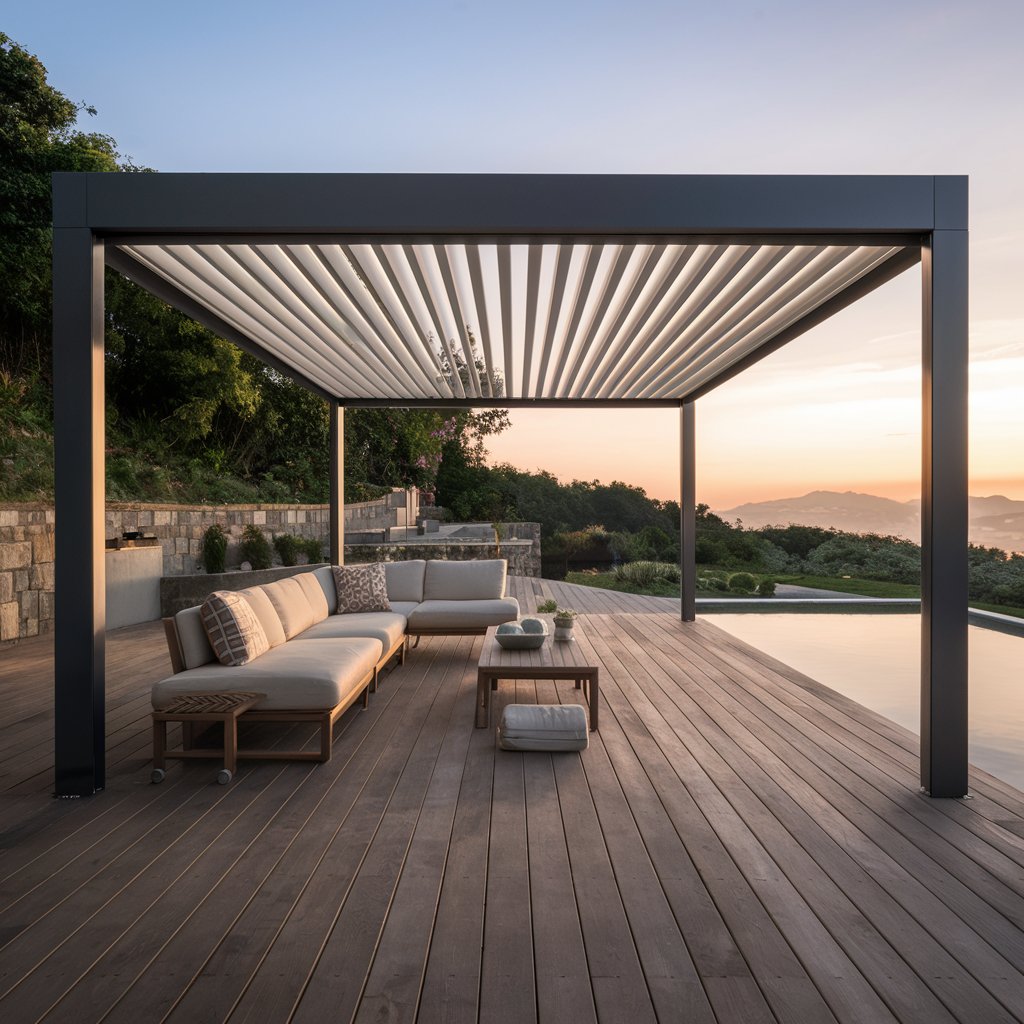
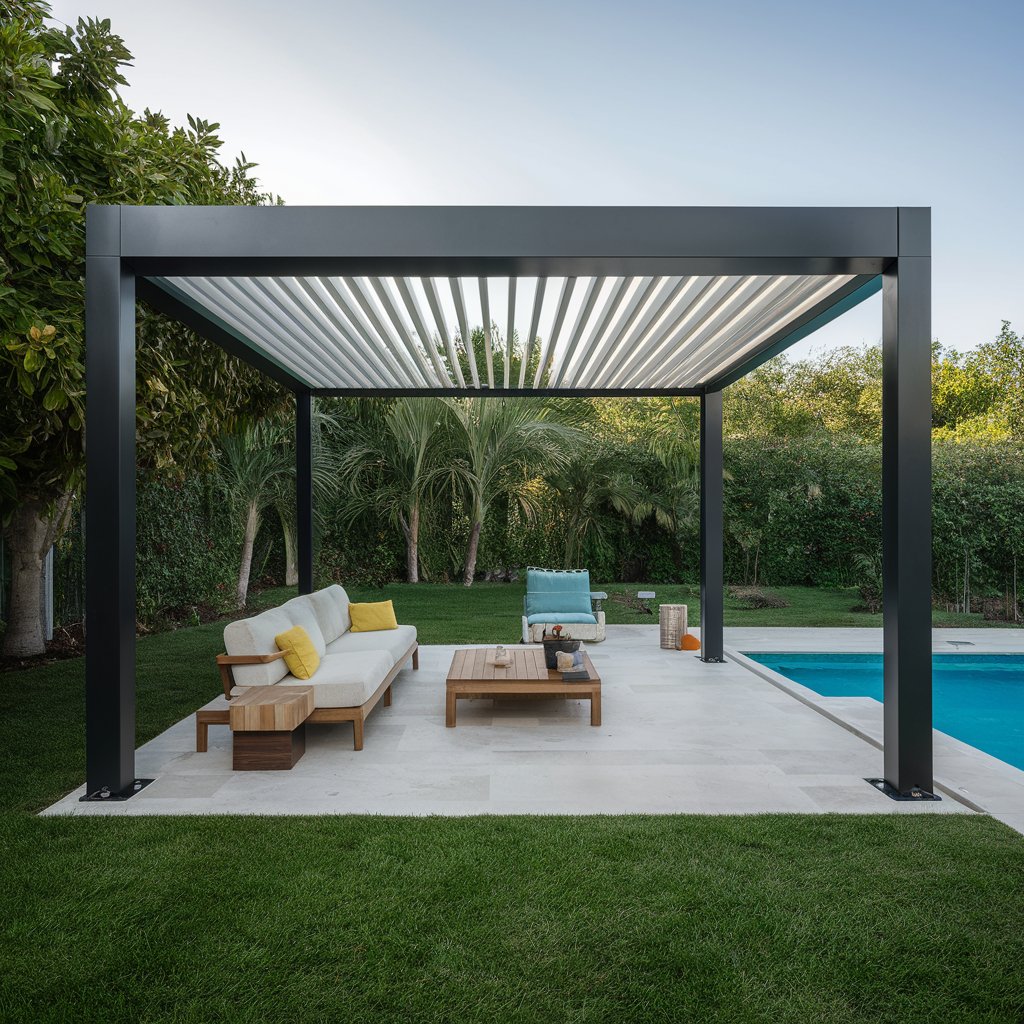
Building a pergola for deck is a rewarding project that can transform your outdoor space into a beautiful, functional area for relaxation and entertainment. This comprehensive guide will take you through every step of the process, from planning and design to construction and finishing touches.

1. Planning and Design
Purpose and Use
The first step in planning your pergola is to determine its primary purpose. This will influence the design, materials, and placement. Here are some common purposes for a pergola:
- Shade: A pergola can provide partial shade, making your deck more comfortable on sunny days.
- Aesthetic Appeal: Pergolas add architectural interest and can be a focal point in your garden or deck area.
- Support for Plants: If you enjoy gardening, a pergola can support climbing plants like roses, ivy, or wisteria.
- Outdoor Living: Create an outdoor living space for dining, lounging, or entertaining guests.
Size and Scale
Carefully measure your deck to determine the appropriate size for your pergola. Consider the following factors:
- Deck Size: Ensure the pergola is proportionate to the size of your deck. A large pergola can overwhelm a small deck, while a tiny pergola may look out of place on a large deck.
- Functionality: Think about how you will use the space under the pergola. Ensure there is enough room for furniture, movement, and any other intended uses.
- Aesthetics: The pergola should complement the existing structures and landscape. Consider the height and width in relation to your house and garden.
Materials
Selecting the right materials is crucial for the durability and appearance of your pergola. Common materials include:
- Wood: Wood is a popular choice for pergolas due to its natural look and versatility. Cedar, redwood, and pressure-treated lumber are commonly used. Cedar and redwood are naturally resistant to decay and insects, while pressure-treated wood is treated with chemicals to withstand the elements.
- Vinyl: Vinyl pergolas are low-maintenance and resistant to rot and insects. They are available in various colors and styles but may lack the natural charm of wood.
- Metal: Aluminum and steel pergolas are durable and modern. They require minimal maintenance and can be powder-coated in different colors. Metal pergolas are ideal for contemporary designs.
Style
Pergolas come in various styles to suit different architectural preferences. Some popular styles include:
- Traditional: Featuring classic design elements like ornate details, latticework, and natural wood finishes.
- Modern: Characterized by clean lines, minimalistic designs, and materials like metal or painted wood.
- Rustic: Often made from rough-hewn wood and featuring a more natural, organic look.
- Mediterranean: Inspired by Mediterranean architecture, these pergolas may include arched beams, stucco finishes, and climbing vines.
Building Codes and Permits
Before you start construction, check local building codes and regulations. Some areas require permits for structures like pergolas, especially if they are attached to the house or exceed a certain size. Contact your local building department to find out the specific requirements in your area.
2. Tools and Materials
Gathering the right tools and materials before you start will make the construction process smoother. Here is a list of essential tools and materials:
Tools
- Measuring Tape: For accurate measurements.
- Level: Ensures your posts and beams are plumb and level.
- Circular Saw or Miter Saw: For cutting lumber to size.
- Drill and Bits: For making holes and driving screws.
- Screwdrivers: Manual or electric, for assembling components.
- Wrench Set: For tightening bolts and fasteners.
- Post Hole Digger: If your pergola will have posts set in the ground.
- Concrete Mixer: For mixing concrete if setting posts in the ground.
- Safety Gear: Including gloves, goggles, and hearing protection.
Materials
- Lumber: Choose high-quality, weather-resistant wood. The amount will depend on your pergola’s size.
- Post Anchors or Brackets: For securing the posts to the deck or ground.
- Concrete: If anchoring posts in the ground.
- Fasteners: Screws, bolts, and nails appropriate for outdoor use.
- Wood Stain or Paint: To finish and protect the wood.
- Decorative Elements: Such as climbing plants, lights, or fabric canopies.
3. Construction Steps
Step 1: Mark the Location
Start by marking the location where the pergola will be positioned on your deck. Use a measuring tape to ensure accuracy. Mark the positions of the posts, ensuring they are evenly spaced and aligned with the deck’s edges.
Step 2: Install Posts
The posts are the vertical supports of your pergola. Follow these steps to install them:
- Deck Mounting: If you are mounting the posts directly to the deck, use post anchors or brackets. Position the anchors at the marked locations and secure them with screws or bolts.
- Ground Mounting: If you are setting the posts in the ground, dig holes at the marked locations using a post hole digger. The holes should be deep enough to ensure stability (typically one-third of the post length). Place the posts in the holes and fill with concrete, ensuring the posts are plumb.
Step 3: Attach Beams
Beams are the horizontal supports that connect the posts. Follow these steps to attach them:
- Measure and Cut: Measure the distance between the posts and cut the beams to size using a circular or miter saw.
- Attach Beams: Lift the beams into place and secure them to the posts using screws or bolts. Ensure the beams are level and evenly spaced.
Step 4: Add Rafters
Rafters are the horizontal members that sit on top of the beams and provide the structure for the pergola’s roof. Follow these steps to install them:
- Measure and Cut: Measure the distance between the beams and cut the rafters to size.
- Attach Rafters: Place the rafters perpendicular to the beams, spacing them evenly. Secure each rafter with screws or nails. You can create a decorative pattern by varying the spacing or angling the rafters.
Step 5: Reinforce Structure
To ensure your pergola is stable and secure, add any necessary cross supports or braces. These will help prevent the structure from swaying or leaning over time. Attach diagonal braces between the posts and beams, and between the beams and rafters if needed.
Step 6: Finishing Touches
Sand any rough edges or surfaces to prevent splinters and ensure a smooth finish. Apply a wood stain or paint to protect the wood from the elements and enhance its appearance. Consider adding decorative elements like climbing plants, lights, or fabric canopies to personalize your pergola.
4. Tips and Best Practices
Building a pergola is a significant project, but following these tips can help ensure success:
Safety First
- Wear Safety Gear: Always wear gloves, goggles, and hearing protection when using power tools.
- Follow Instructions: Carefully read and follow the manufacturer’s instructions for all tools and materials.
- Work with a Partner: Having an extra set of hands can make lifting and positioning beams and rafters easier and safer.
Precision and Planning
- Take Your Time: Rushing through measurements and cuts can lead to mistakes. Take your time to ensure accuracy.
- Double-Check Measurements: Measure twice, cut once. Double-check your measurements before cutting any lumber.
- Plan for Weather: Choose a dry day for construction and protect your materials from rain and moisture.
Maintenance
- Regular Inspections: Periodically inspect your pergola for signs of wear, such as loose fasteners or rotting wood. Address any issues promptly.
- Cleaning: Keep your pergola clean by removing dirt, leaves, and debris. A pressure washer can be useful for cleaning wood and vinyl.
- Re-Sealing: Reapply wood stain or sealant every few years to protect the wood from moisture and UV damage.
5. Inspiration and Ideas
A pergola can be a versatile and attractive addition to your deck. Here are some ideas to inspire you:
Climbing Plants
Enhance the natural beauty of your pergola by planting climbing plants. Some popular choices include:
- Wisteria: Known for its beautiful, cascading flowers, wisteria adds a touch of elegance to any pergola.
- Roses: Climbing roses provide fragrant blooms and a romantic look.
- Ivy: Hardy and easy to grow, ivy creates a lush, green canopy.
- Grapevines: If you enjoy gardening, grapevines can provide both shade and fruit.
Shade Solutions
While pergolas provide partial shade, you can enhance their shading capabilities with additional elements:
- Retractable Canopies: Install a retractable fabric canopy that can be extended for shade or retracted to let in sunlight.
- Shade Cloth: Attach shade cloth to the rafters to block more sunlight while allowing air to circulate.
- Bamboo Blinds: Hang bamboo blinds or roll-up shades on the sides of the pergola for adjustable shade and privacy.
Lighting
Incorporate lighting into your pergola to create a cozy ambiance for evening gatherings:
- String Lights: Drape string lights across the rafters for a festive, twinkling effect.
- Lanterns: Hang decorative lanterns or pendant lights from the beams for a charming look.
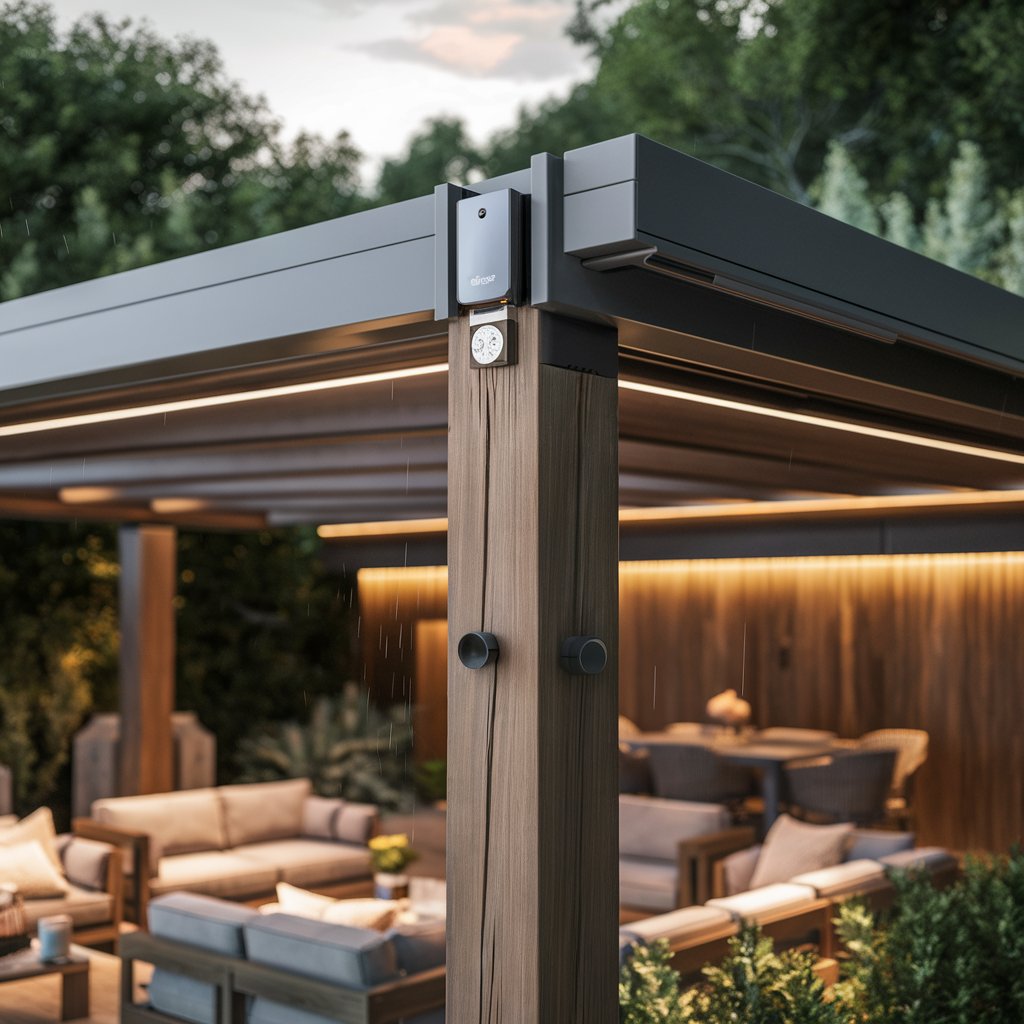
- Built-In Lighting: Install built-in LED lights along the rafters or posts for a sleek, modern touch.
Outdoor Furniture
Furnish your pergola with comfortable outdoor furniture to create a welcoming space for relaxation and entertainment:
- Dining Area: Set up an outdoor dining table and chairs for alfresco meals.
- Lounge Area: Arrange outdoor sofas, chairs, and a coffee table to create a cozy lounge area.
- Hammocks and Swings: Hang a hammock or porch swing for a relaxing retreat.
Decor and Accessories
Personalize your pergola with decorative elements and accessories:
- Outdoor Rugs: Add an outdoor rug to define the space and add color and texture.
- Pillows and Cushions: Use weather-resistant pillows and cushions to make seating areas more comfortable.
- Planters and Pots: Place potted plants and flowers around the pergola to enhance its natural beauty.
- Artwork: Hang outdoor-friendly artwork or decorative screens on the posts or beams.
6. Common Challenges and Solutions
Building a pergola can present some challenges. Here are some common issues and how to address them:
Uneven Deck Surface
If your deck surface is uneven, it can be challenging to install the posts and ensure the pergola is level. Here’s how to address this issue:
- Shims: Use shims to level the post anchors or brackets. Place the shims under the anchors until they are level, then secure them in place.
- Adjustable Post Anchors: Consider using adjustable post anchors that allow you to fine-tune the height of each post.
Securing Posts to Deck
Ensuring the posts are securely attached to the deck is crucial for stability. Here are some tips:
- Lag Bolts: Use lag bolts to attach the post anchors or brackets to the deck joists. This provides a strong, secure connection.
- Blocking: Add blocking between the deck joists at the post locations. This provides additional support and prevents the deck boards from flexing.
Working with Heavy Beams
Lifting and positioning heavy beams can be challenging, especially if you are working alone. Here’s how to make it easier:
- Assistants: Enlist the help of a friend or family member to lift and hold the beams in place while you secure them.
- Temporary Supports: Use temporary supports, such as sawhorses or scrap lumber, to hold the beams at the correct height while you attach them.
Cutting Angles and Notches
Cutting precise angles and notches can be tricky but is essential for a professional finish. Here’s how to get it right:
- Templates: Create templates for any angled or notched cuts. Use a piece of scrap wood to practice your cuts and ensure they are accurate before cutting the actual lumber.
- Measuring Tools: Use a combination square or angle finder to measure and mark angles accurately.
7. Conclusion
Building a pergola for your deck is a worthwhile project that can enhance the beauty and functionality of your outdoor space. By carefully planning and following the steps outlined in this guide, you can create a stunning pergola that provides shade, supports climbing plants, and serves as a perfect gathering spot for family and friends.
Remember to prioritize safety, take your time with measurements and cuts, and choose materials and finishes that suit your climate and maintenance preferences. With proper care and maintenance, your pergola will be a durable and attractive addition to your deck for years to come.
Whether you prefer a traditional wooden pergola adorned with climbing roses or a sleek, modern structure with built-in lighting, the possibilities are endless. Use the inspiration and ideas provided in this guide to customize your pergola to suit your style and needs.
Enjoy your new pergola and the enhanced outdoor living experience it brings to your home!


